Key Takeaways
- It’s the only siding system that checks all six performance boxes: wood-like aesthetics, low maintenance, lifetime warranty, Class A fire rating, moisture resistance, and thermal insulation
- Available in 21 fade-resistant colors and two profiles — 7″ Plank and 12″ Board & Batten
- Zero repainting means significantly lower lifetime costs compared to wood or fiber cement, which need repainting every 5–15 years
If you’re researching composite siding for your home, you’ve probably noticed the market has changed dramatically. Vinyl still dominates on price, wood still wins on looks, and fiber cement sits somewhere in between — but none of them deliver everything.
Ameritech Composite Cladding is a first-of-its-kind system that aims to end that compromise. This article breaks down how it performs against every major siding type, what makes it different, and whether it’s the right fit for your home.
What Is Ameritech Composite Siding?

Ameritech is a composite cladding system engineered using proprietary (GP)² Technology — a blend of glass fibers, impact modifiers, titanium dioxide, flame retardants, and weatherable pigments combined into a single composite material. Unlike traditional vinyl or fiber cement, every component serves a performance purpose.
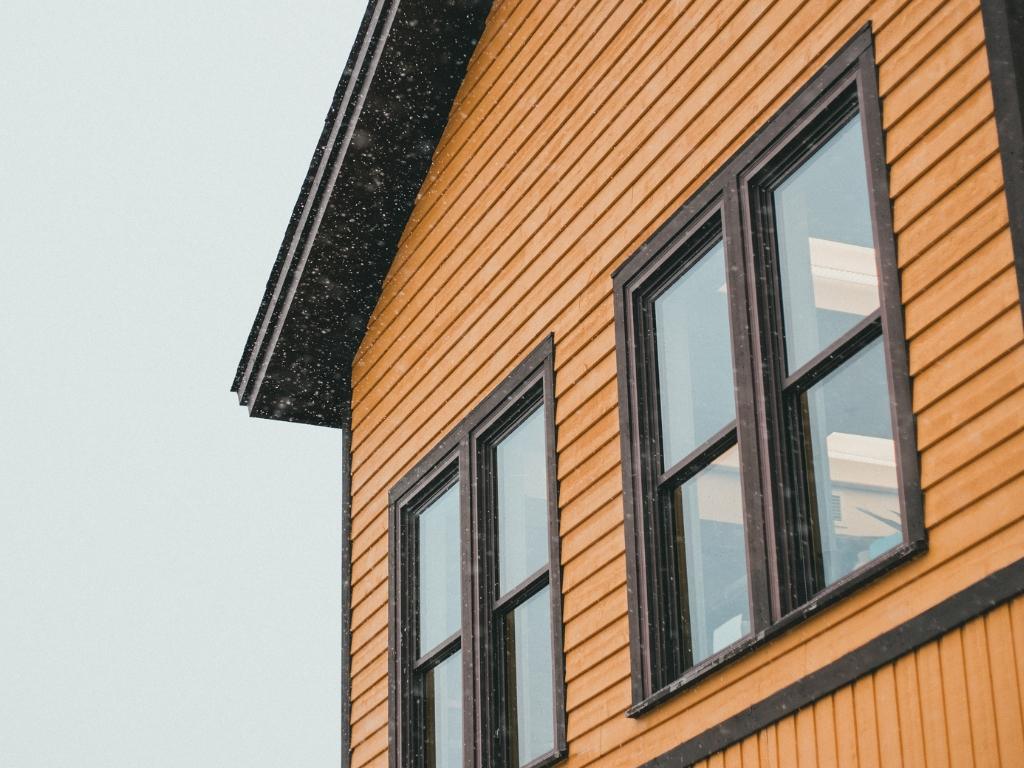
The result is siding that looks like wood but doesn’t rot, warp, crack, or need repainting. Ever.
Ameritech is positioned as a premium low maintenance siding option — designed to cost less to own over 20+ years than wood or fiber cement when you factor in repainting, repairs, and replacement.
What Makes It Different
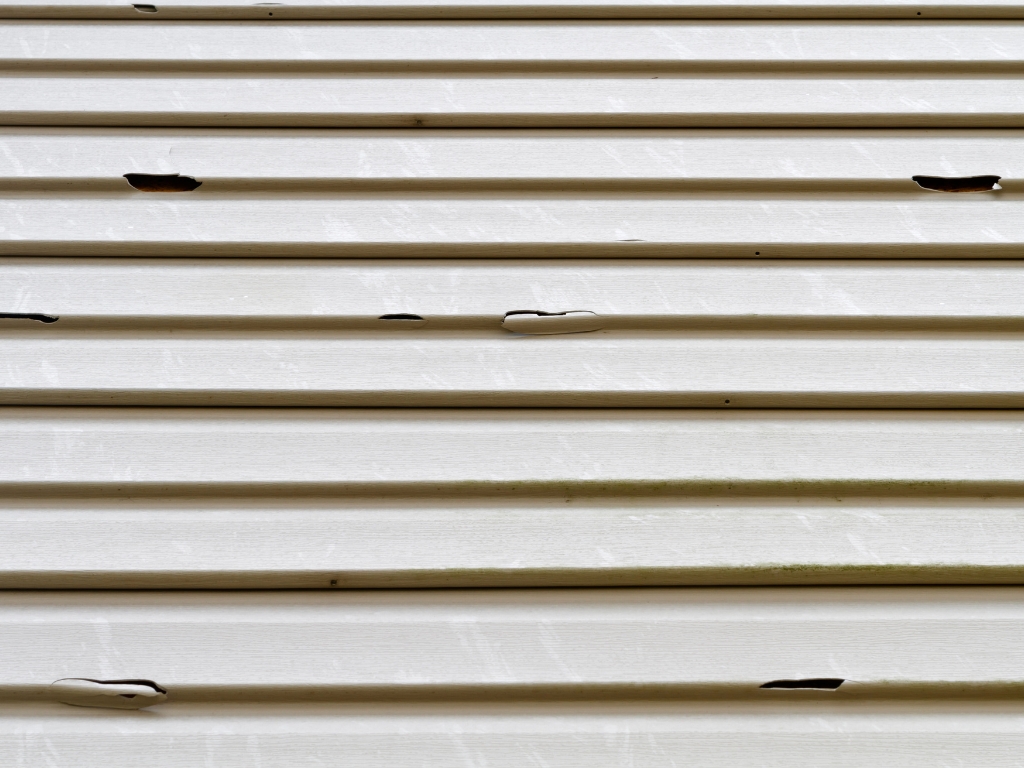
- Water resistance — prevents rotting, warping, shrinking, and swelling
- Glass fiber reinforcement — adds structural strength and stability
- Titanium dioxide — protects against UV degradation
- Weatherable pigments — resist fading, even on dark colors
- Impact modifiers — resist dents and dings from hail and debris
- Flame retardants — decrease the spread of smoke and flames (Class A rated)
Composite Siding Installation: What’s Involved

Composite siding installation follows a similar process to fiber cement, but Ameritech is lighter and easier to cut, which can reduce labor time and cost.
Installation Process
- Old siding removal — existing siding is stripped, sheathing inspected
- Weather barrier — house wrap or moisture barrier is applied
- Starter strips — bottom edge of the wall gets a starter strip for the first course
- Panel installation — Ameritech planks or board & batten panels are fastened with corrosion-resistant nails or screws
- Trim and finishing — H-trim, corner posts, lineals, and other Ameritech-specific trim accessories complete the look
Installation Timeline
| Home Size | Typical Duration |
|---|---|
| 1,500 sq ft | 3 – 5 days |
| 2,500 sq ft | 5 – 8 days |
| 3,500+ sq ft | 7 – 12 days |
Ameritech vs. Vinyl, Wood, and Fiber Cement
The most common question homeowners ask: how does composite siding compare to vinyl siding, fiber cement, and real wood?
| Feature | Vinyl | Wood | Fiber Cement | Ameritech |
|---|---|---|---|---|
| Real wood appearance | × | ✓ | ✓ | ✓ |
| Never needs painting | ✓ | × | × | ✓ |
| Lifetime warranty (non-prorated) | ✓ | × | × | ✓ |
| Class A fire rated | × | × | ✓ | ✓ |
| Moisture resistant | ✓ | × | × | ✓ |
| Insulating properties | × | × | × | ✓ |
Ameritech is the only siding product on this list that checks all six boxes. That’s not marketing — it’s material science.
All 21 Ameritech Composite Siding Colors
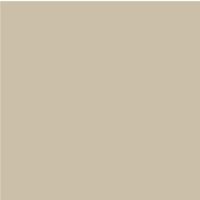
Ameritech offers 21 designer-curated composite siding colors with fade-resistant pigments that maintain their vibrancy for the life of the product.
Neutral Tones


Gray Palette


Brown & Earth Tones

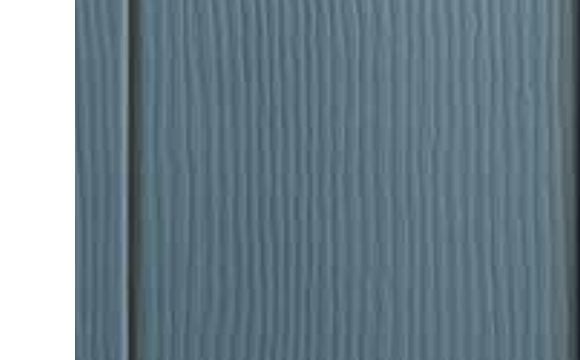
Blue Palette


Dark & Bold


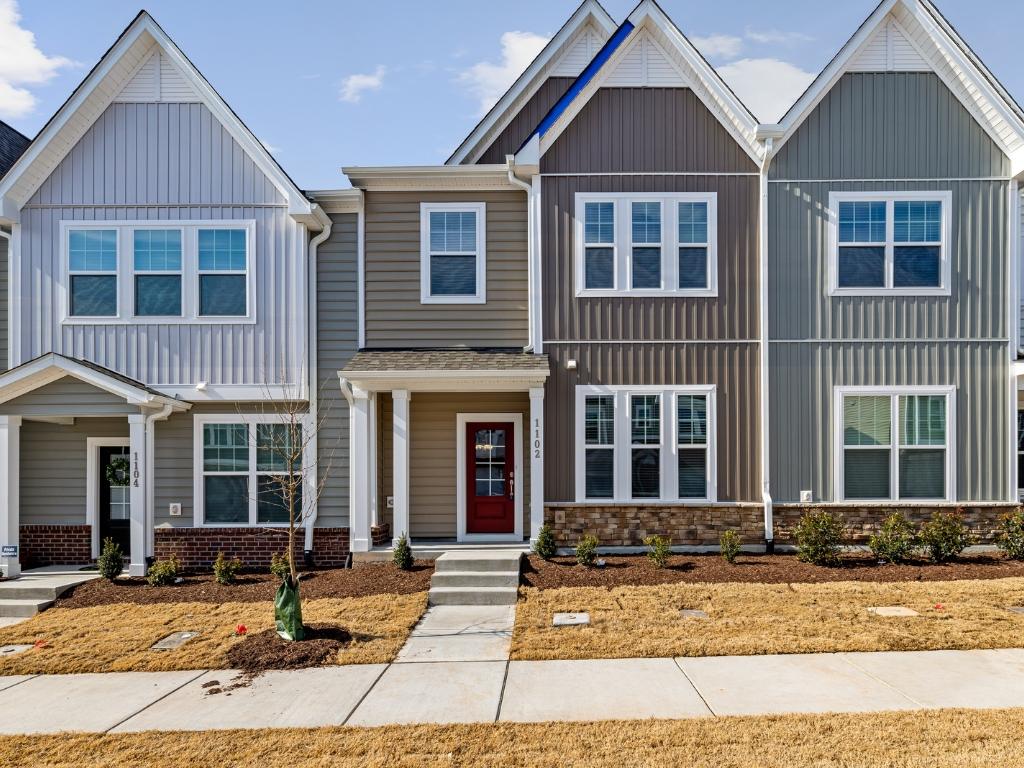
Board and Batten vs. Plank: Choosing Your Profile
Board and batten siding has surged in popularity — it’s the most searched siding style in America. Ameritech offers both a classic plank and a board & batten option:

7″ Plank
Traditional horizontal lap siding. Cedar mill grain texture mimics real wood. Best for Colonial, Craftsman, and Cape Cod homes.
12″ Board & Batten
Vertical panel with raised batten strips. Available in cedar mill grain or matte texture. Best for modern farmhouse and contemporary homes.
Both profiles are available in all 21 colors. Many homeowners mix profiles — for example, composite board and batten on the front gable with plank siding on the body of the home.
Fire Resistance and Durability
For homeowners in wildfire-prone regions — or anyone who wants maximum safety — fire resistant siding is no longer optional. Ameritech carries a Class A fire rating, the highest available for exterior cladding.
| Threat | Ameritech Performance |
|---|---|
| Fire | Class A rated — flame retardants decrease spread of smoke and flames |
| Water | Prevents rotting, warping, shrinking, and swelling |
| UV | Titanium dioxide protects against degradation; weatherable pigments resist fading |
| Impact | Impact modifiers resist dents and dings from hail and debris |
| Wind | Engineered fastening system rated for high-wind zones |
| Temperature | Thermal resistance provides insulating properties year-round |
Is Ameritech the Best Composite Siding?

| Feature | Ameritech | Everlast |
|---|---|---|
| Profiles | 7″ Plank + 12″ Board & Batten | 7″ Plank only |
| Colors | 21 | 16 |
| Fire Rating | Class A | Class A |
| Board & Batten option | ✓ | × |
| AI Visualizer Tool | ✓ | × |
Ameritech is the best composite siding option for homeowners who want real wood aesthetics without maintenance, need Class A fire performance, love the board and batten look, and plan to stay in their home 10+ years for maximum ROI.
Frequently Asked Questions
Is composite siding better than vinyl siding?
Composite siding outperforms vinyl in aesthetics, fire resistance, impact resistance, and insulation. Vinyl costs less upfront but can’t match the real-wood look, carries no fire rating, and often needs replacement after 20–25 years. Contact us for a free quote to see the difference for your home.
Does Ameritech composite siding come in board and batten?
Yes — Ameritech offers a 12″ Board & Batten profile in all 21 colors and two textures (cedar mill grain and matte). It’s one of the few composite siding products with a true board and batten option, making it a top choice for modern farmhouse designs.
How long does composite siding last?
Ameritech composite siding is backed by a non-prorated lifetime warranty — meaning the coverage doesn’t decrease in value over time. The composite formulation resists fading, moisture damage, fire, and impact, designed to look “just installed” for as long as you own your home.
Is Ameritech siding fire resistant?
Yes. Ameritech carries a Class A fire rating — the highest available. Flame retardants are engineered directly into the (GP)² Technology composite formulation, decreasing the spread of smoke and flames. Excellent choice for homes in wildfire-prone areas.
What colors does Ameritech composite siding come in?
Ameritech offers 21 fade-resistant colors including Glacier White, Almond, Monterey Sand, Pebble, Canyon Drift, Flagship Brown, Rustic Timber, Dover Gray, Cape Cod Gray, Sterling Gray, Storm, Ageless Slate, Charcoal Smoke, Cast Iron, Laguna Blue, Harbor Blue, Midnight Blue, Riviera Dusk, Mountain Fern, Deep Moss, and Fired Brick.